


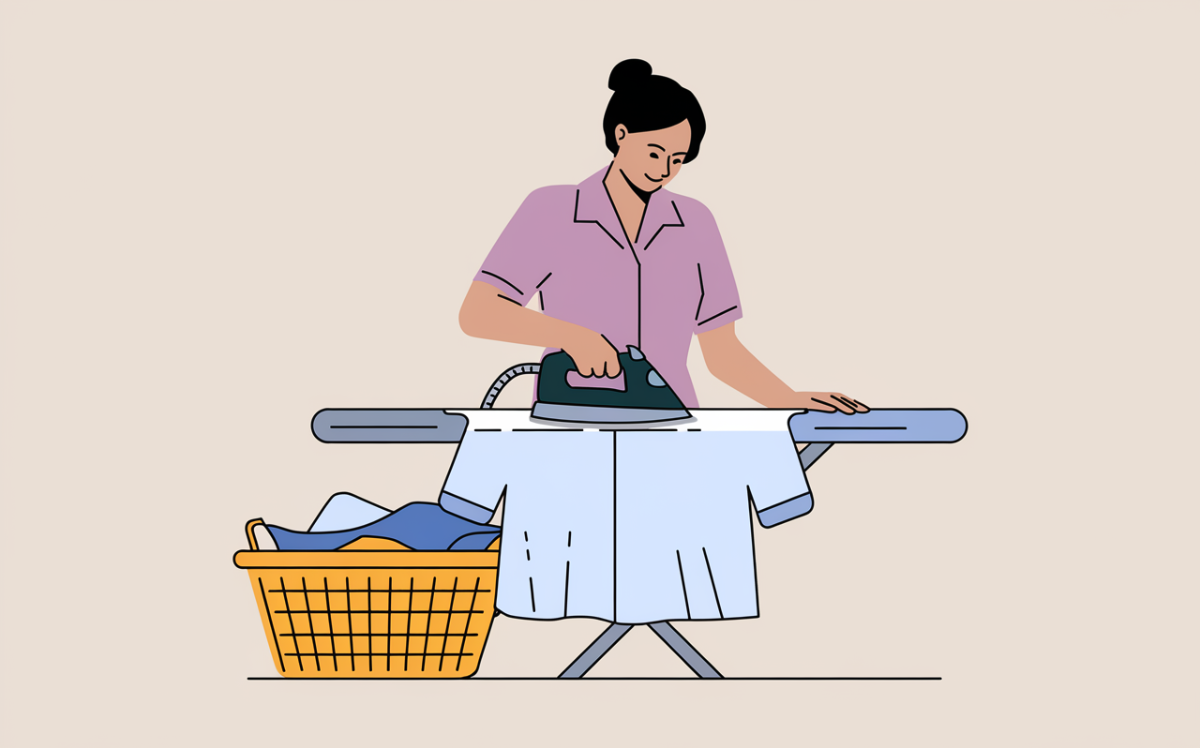
Ironing Like a Pro: Mastering Collar & Cuff Points
Doing ironing of your clothes is the perfect way to make them sharp and wrinkle-free. You must know the proper ways to do ironing of your shirts to enhance your look. If you are new to ironing, then here our step-by-step guide helps you. From Cuff ironing to collars and shoulders, here we tell you the steps of ironing and make you masters in it.
So, let us tell you how to iron a shirt and make it look crisp and well put together by proper ironing. Read this blog completely to understand it.
Why do you need to Iron a Shirt?
Before understanding the master guide to ironing your shirt, you must know its importance. Ironing a shirt is not only about looks, it is also about keeping it in top shape. Its wrinkles smooth out creases and folds making the look of your shirt fresh.
Sometimes, the dampness of your Formal Shirts for Men set creases, but good iron can fix it. A wrinkle-free shirt is important for your elegant appearance if you are going to any formal event, so you must learn the art of ironing.


How to Iron Shirts Like a Pro
How to iron a shirt? Properly ironed shirts improve your sleek appearance at formal events or special functions. Here is step by step guide that helps you to iron your clothes easily and gives a crisp finish.
1. Prepare your shirt
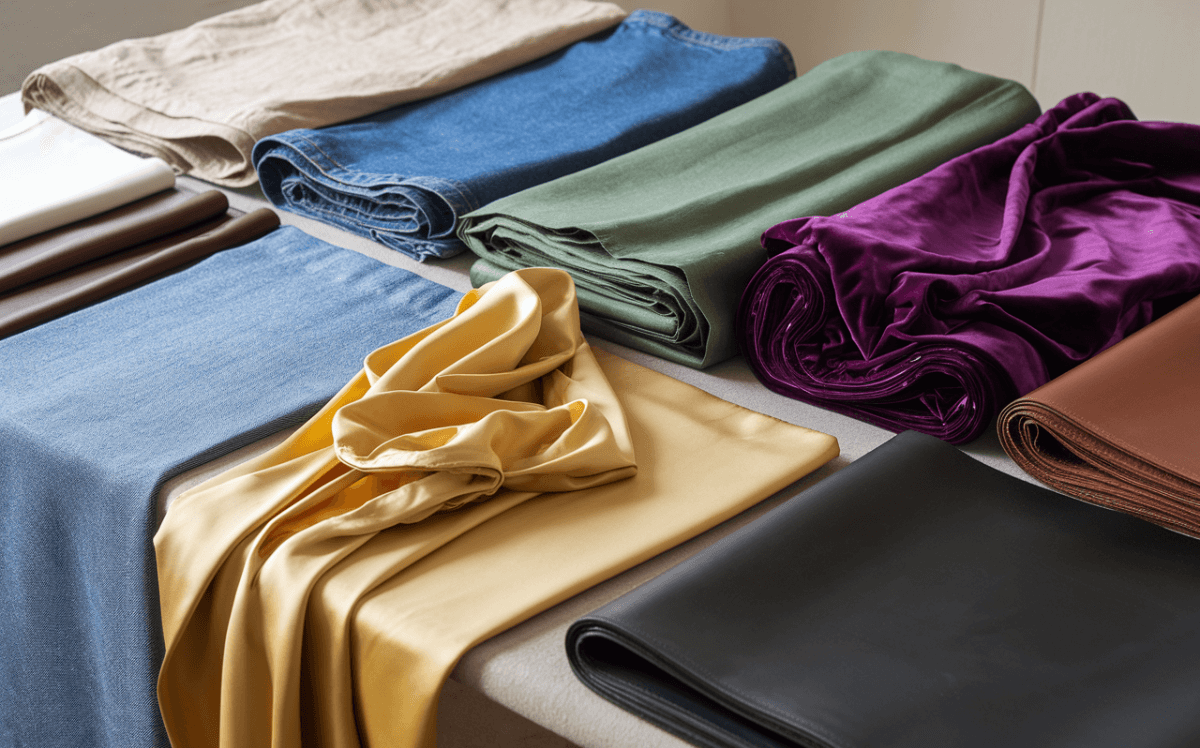
First, you must understand the fabric type of your shorts and set the iron according to it. If you have a cotton or linen shirt with high wrinkles, then you must use a spray bottle with water. Once done, lay down your shirt on the ironing board till all wrinkles disappear from its surface.
2. Iron Collar and neck area
The wrinkled collars or neck areas require special care while ironing. You must start ironing your shirt with the collar by opening it and laying it on board. You must iron the interior first before flipping it over the exterior ironing. It helps you to maintain sharpness and shape and helps you to get shape for the neck area back.
3. Ironing Shoulders
You must iron your Formal Shirts for Men both outside and inside. It helps you to keep its form. You must position one shoulder over the narrow end of the board and iron the yoke, move from shoulder to center, and then repeat the same on the other side.
4. Ironing Cuff and sleeves
Now, you should iron Cuff and sleeves. You must unbutton both cuffs of your shirt and lay it on board. Iron the outside and inside of the Cuff, and then iron the sleeves from the top down. Flip the shirt sleeves and then iron the other side carefully to avoid wrinkles.


5. Front and Back of shirts
Once you are done ironing the Cuff and sleeves, you must start ironing the front and back of your shirt. Lay the shirt on the board, facing you, and start ironing from bottom to top with vertical strokes. Do not complex this process. Glide your iron slightly across buttons and pockets and remove wrinkles.
Then, flip the shirt and repeat this process. If you are ironing a cotton shirt, then it is suggested to check the iron temperature properly. For cotton fabric shirts, ensure that the iron is heated properly for smooth textures after ironing.
6. Finished with the final touch
Once you are done with ironing of shirt, let the iron cool for some time. Till it cools, check your shirt and find the area with wrinkles, if any. This is how you can give final touches to shirt areas, with some wrinkles, in rare cases.
Following the above steps helps you learn how to iron a shirt like a pro. With practice, you can make this task less tough and enhance your sleek appearance.
Safety Tips for Ironing
Along with learning the above steps, you must follow some safety tips while ironing. You must protect yourself, your loved ones, and your clothes while doing this task. Given below are safety tips you must follow
- Keep your hot iron away from children.
- Let your iron cool for a minimum of 10 minutes, before storing it to prevent fire accidents.
- Use only iron with safety features like automatic shut off and cordless use.
- If you burn it with hot iron, then rinse it with cool water quickly. Do not use oil or ice on a burn. Get medical help if burns are the worst.
- Never leave the hot iron on clothes, otherwise it makes holes and causes fires.
- Check that the ironing board is clean to prevent strains or dust on your clothes.
- Do not use iron on wet shirts, because it damages your clothes
- Start ironing with low heat for delicate fabrics and then increase it accordingly
Conclusion
Mastering ironing a shirt is good for elevating your style and making long long-lasting impression. Following the above step-by-step guide and tips helps you to fill your wardrobe with wrinkle-free Formal Shirts for Men.
Note that, preparation, using the right tools, and mastering this technique are key to achieving a professional, and polished look. So, when you are dressing to impress someone next time, take a look at this guide, understand ironing, and style your wrinkle-free clothes.
Also Read: What Are the Advantages & Disadvantages of Tencel Fabric?
